
Solar Panel Installation Process: Step-by-Step Guide
Switching to solar energy is a smart investment for both homes and businesses. However, many people hesitate because they are unsure about how the solar panel installation process works. At Superior Solar, the process is simple, transparent, and professionally managed from start to finish.
This step-by-step guide explains how solar panels are installed and what you can expect at each stage.
Step 1: Site Assessment and Energy Evaluation
The installation process begins with a detailed site assessment. Superior Solar evaluates your roof structure, available space, sunlight exposure, and current energy consumption. This helps determine the right solar system size and configuration for maximum efficiency.
An energy analysis ensures that the solar solution is customized to meet your power needs while optimizing long-term savings.
Step 2: System Design and Planning
Based on the site evaluation, a customized solar panel layout is designed. This includes:
Number of solar panels required
Panel placement and orientation
Inverter selection
Electrical wiring plan
The design focuses on performance, safety, and aesthetics while complying with local regulations and technical standards.
Step 3: Approvals and Documentation
Before installation begins, necessary approvals and documentation are handled. Superior Solar manages permissions, grid connectivity approvals, and regulatory paperwork to ensure a smooth installation process without delays.
This step ensures your system is legally compliant and ready for connection to the power grid.
Step 4: Mounting Structure Installation
Once approvals are in place, the mounting structure is installed on the roof or ground. These structures are designed to securely hold solar panels while withstanding weather conditions such as wind and rain.
Proper mounting ensures durability, safety, and optimal panel performance over time.
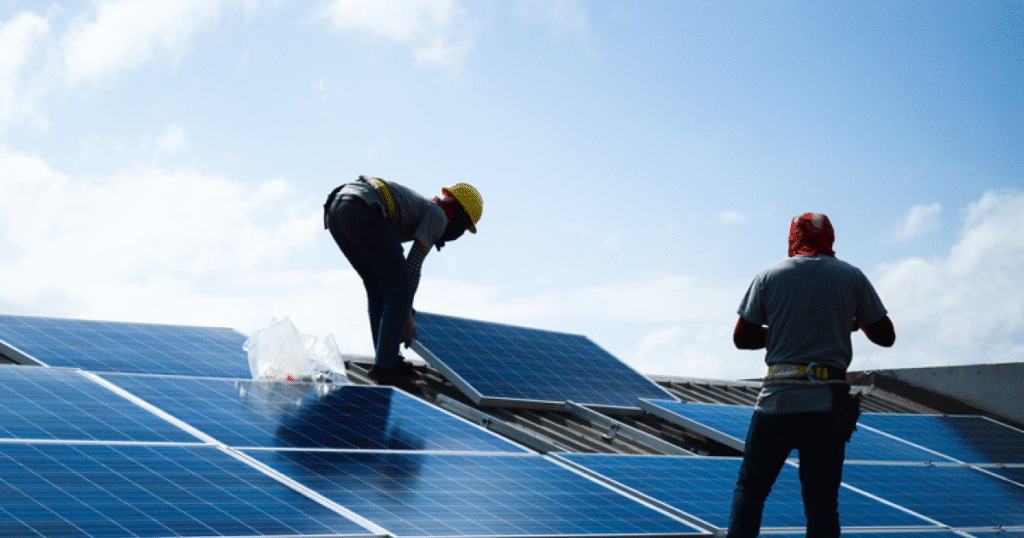
Step 5: Solar Panel Installation
After the mounting structure is ready, solar panels are carefully installed and aligned according to the system design. Panels are positioned to capture maximum sunlight throughout the day.
Quality installation at this stage is crucial for long-term efficiency and consistent energy generation.
Step 6: Inverter and Electrical Connections
The inverter plays a key role in converting solar energy into usable electricity. Superior Solar installs high-quality inverters and completes all electrical connections, including safety systems and grounding.
This step ensures that the solar power generated can be safely used in your home or business.
Step 7: System Testing and Inspection
After installation, the entire system undergoes thorough testing. Performance, electrical safety, and connectivity are checked to ensure the system operates efficiently and safely.
Inspections are conducted as required before final activation.
Step 8: Grid Connection and System Activation
Once testing and approvals are completed, the solar system is connected to the power grid. The system is then activated, allowing you to start generating clean, renewable energy.
From this point, you can monitor your energy production and savings.
Step 9: Monitoring and Maintenance Support
Superior Solar provides guidance on system monitoring and ongoing maintenance. Regular checks help ensure consistent performance and extend the lifespan of your solar panels.
With proper care, solar systems can deliver reliable energy for decades.
Why Choose Superior Solar?
Superior Solar offers end-to-end solar solutions with a focus on quality, safety, and customer satisfaction. From consultation to installation and after-sales support, every step is handled by experienced professionals.
Final Thoughts
Understanding the solar panel installation process makes the transition to solar energy easier and more confident. With Superior Solar’s step-by-step approach, switching to solar is a seamless and rewarding experience that delivers long-term savings and environmental benefits.